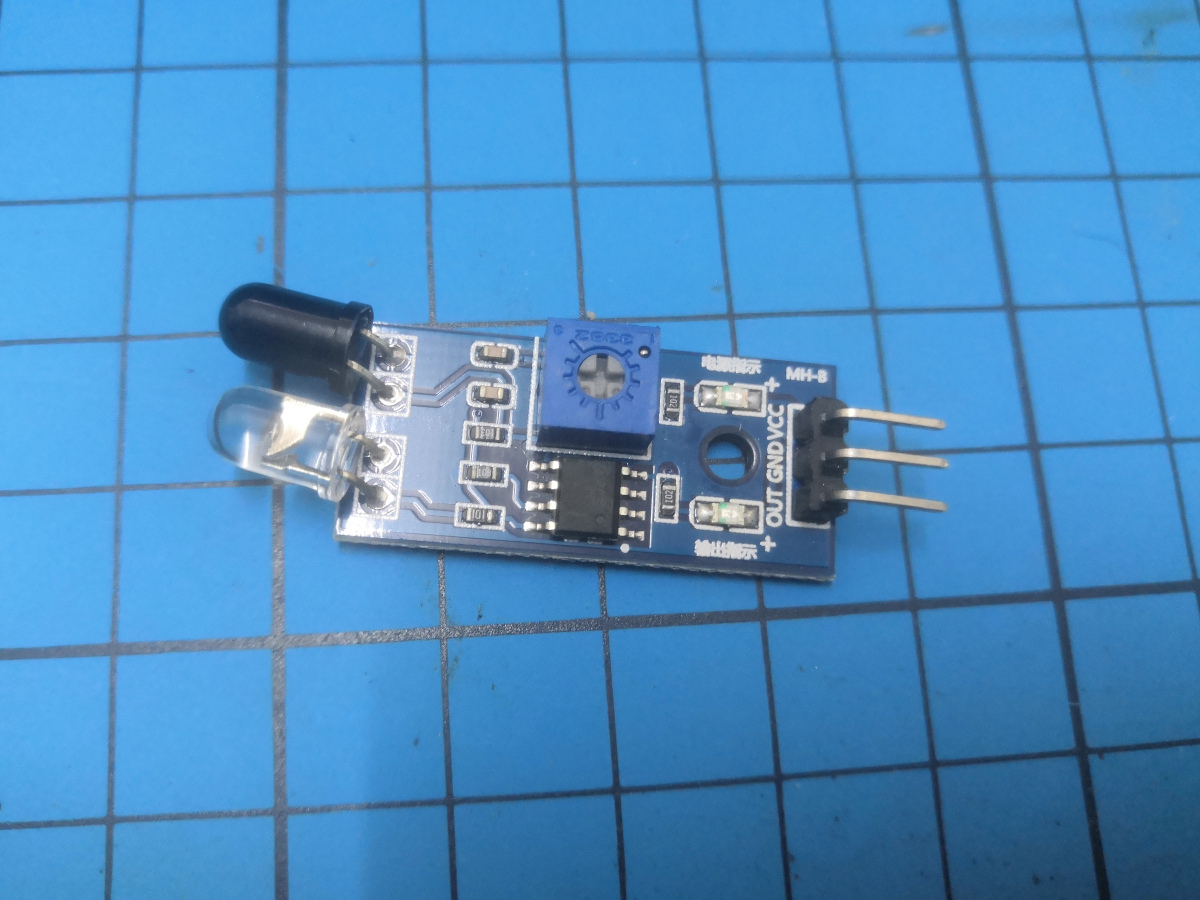
Logic - How Robby Makes Decision
Now that we know there is something in the way, we need to make Robby actually do
something different to avoid it.
For this we need to use something called CONDITIONALS.
The most common is called an IF statement. We write if (){} and everything within the ()
is judged to be true(1) or false(0).
If it is true or "1" then we do the code inside the {}, otherwise that code is skipped.
When we add an } else {} then the code in the else block is only run if the code inthe
IF is not.
        int sensorPin = 4;

        void setup() {
            Serial.begin(115200);
            pinMode(sensorPin, INPUT);
        }

        void loop() {
            if (digitalRead(sensorPin)){
                Serial.println("STOP!");
            } else {
                Serial.println("GO FORWARD");
            }

            delay(10);                                  // wait 0.01 sec
        }
So the code above will check if the digitalRead(sensorPin) gives a 1 or a 0.
If it's a 0, then we print "GO FORWARD", or else if it's a 1 we print "STOP!".
We don't have a second sensor yet, but we can imagine how the code could be even better
if we had one on the left
and one on the right.
        int sensorPinLeft = 4;
        int sensorPinRight = 5;

        void setup() {
            Serial.begin(115200);
            pinMode(sensorPinLeft, INPUT);
            pinMode(sensorPinRight, INPUT);
        }

        void loop() {


            if (digitalRead(sensorPinLeft) && digitalRead(sensorPinRight)){ // theres something on the
                Serial.println("Stop");                                     // left AND on the right

            } else if (digitalRead(sensorPinLeft)){ // else if theres something on the left
                Serial.println("Turn Right");

            } else if (digitalRead(sensorPinRight)){ // else if there's something on the right
                Serial.println("Turn Left");

            } else {
                Serial.println("Go Forward!");
            }
            delay(10);                                  // wait 0.01 sec
        }
Read this one carefully to understand what it does.
When IF ELSE blocks are strung together like this, only one of the blocks will actually
be run, the rest will be skipped.
Note the first block that checks both left and right. The && symbol needs both of the
values to be 1, if it's 1 and 0 it will be skipped.
